You have unpacked a new weather station, and now you are staring at a sensor array, a console, some mounting hardware, and a manual that skips the parts you actually need. This guide covers everything from choosing the right spot to getting your data online, with specific advice for Gulf Coast conditions. Learn more in our home weather station setup guide.
Step 1: Choose Your Location
Location matters more than the station itself. A $400 Davis in a bad spot will give worse data than a $170 Ambient in a good one. Here are the guidelines from the World Meteorological Organization, adapted for a typical Louisiana property:
Temperature and Humidity Sensor
- Height: 4–6 feet above ground, over a natural surface (grass, not concrete)
- Shade: The sensor must be shielded from direct sun. Most stations include a radiation shield (those white louvers), but placement in constant afternoon sun will still cause errors. North-facing locations are ideal in the Northern Hemisphere.
- Airflow: The shield needs open air circulation. Do not mount it against a wall or inside an enclosed porch. In Louisiana, this also helps prevent condensation buildup that can fool humidity sensors.
- Away from heat sources: At least 100 feet from HVAC exhaust, dryer vents, and large paved areas that radiate stored heat.
Wind Sensor
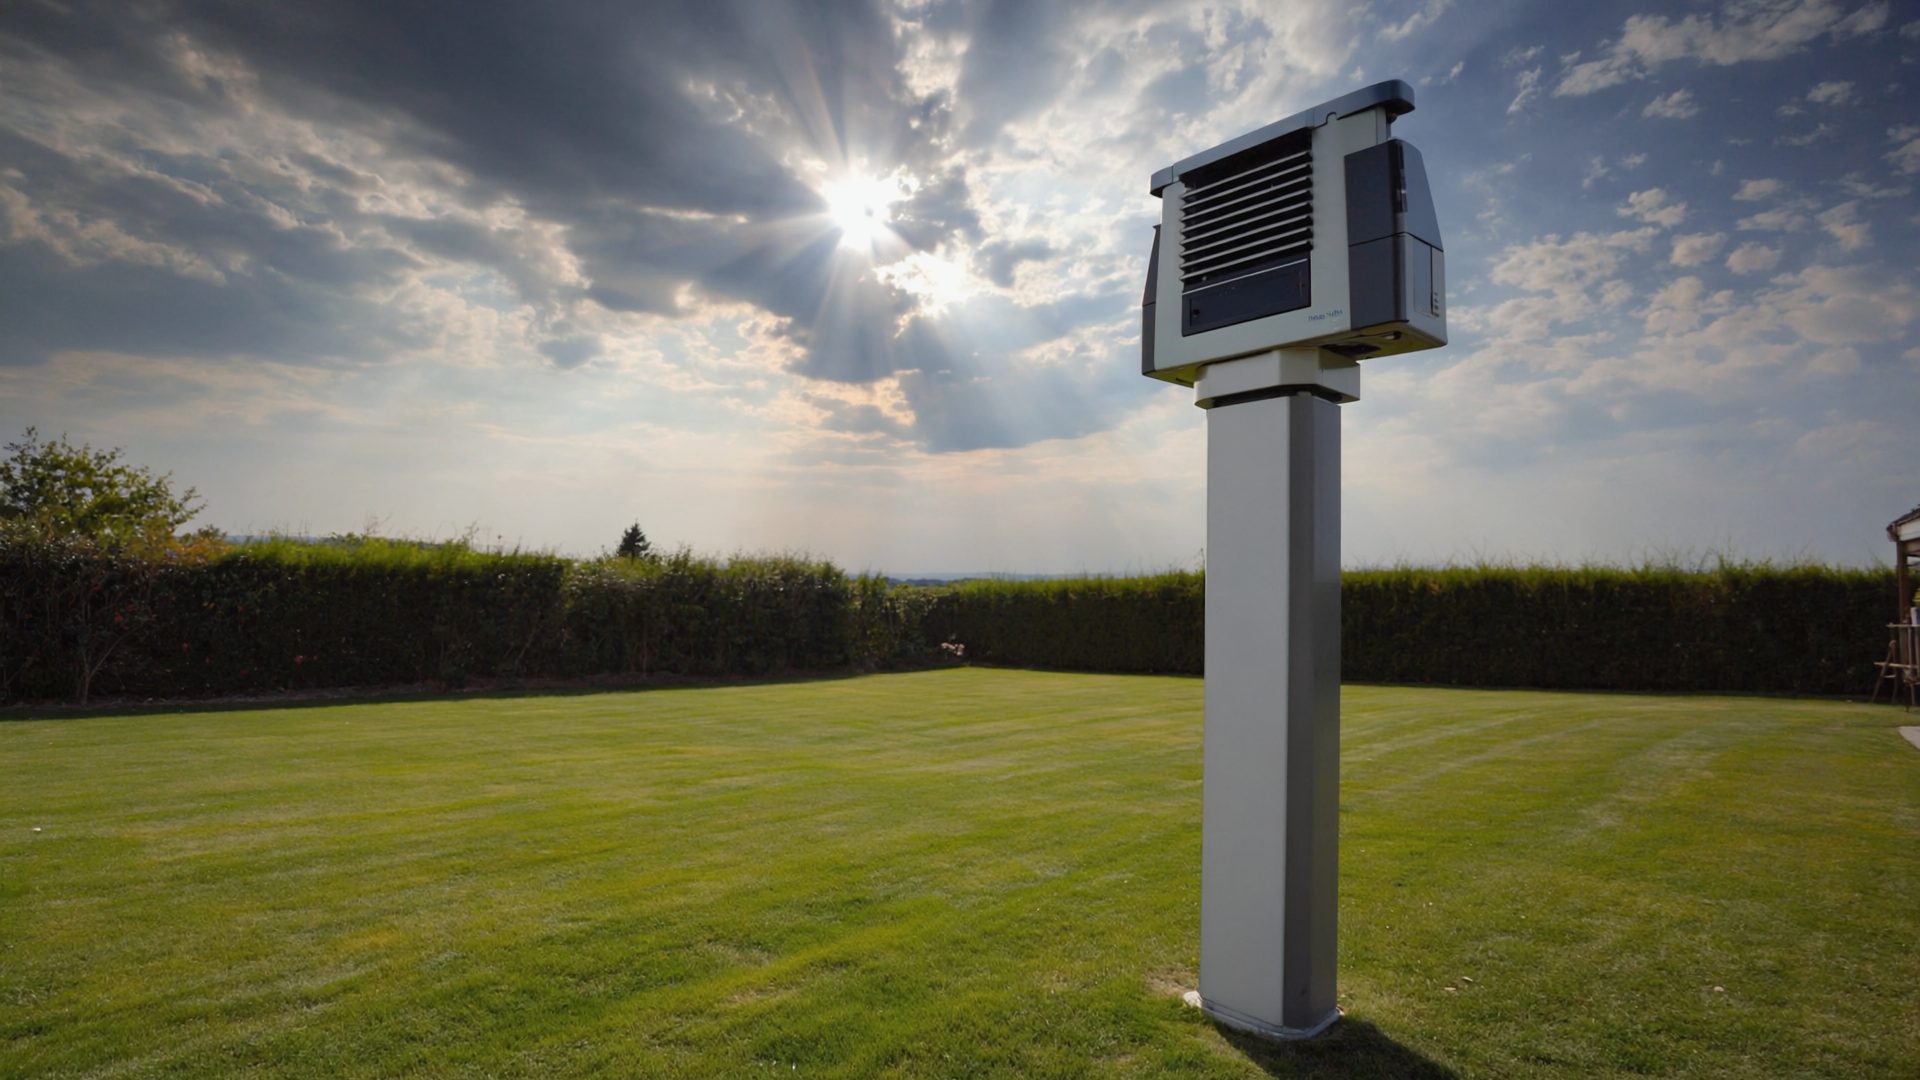
- Height: The standard is 33 feet (10 meters), which is unrealistic for most homes. Higher is better — a rooftop mount or a tall pole gives the most representative readings. If you are limited to 6–10 feet, understand that your wind speeds will read lower than airport or NWS reports.
- Clear of obstructions: Buildings, trees, and fences all create turbulence. The rule of thumb: mount the sensor at least 4 times the height of the nearest obstacle away from it. A 15-foot tree means 60 feet of clearance, which is often impossible in residential areas. Do the best you can.
Rain Gauge
- Height: 3–5 feet above ground. Higher placements catch less rain due to wind deflection.
- Open sky: No overhanging branches, eaves, or structures. Even a nearby fence can redirect wind and alter collection. Look for the most open spot in your yard.
- Level: A tilted rain gauge is an inaccurate rain gauge. Use a bubble level on the mounting surface.
Step 2: Mount the Hardware
Most stations come with a simple mounting bracket and hardware for a pole or post. For a permanent, hurricane-resistant installation, consider these upgrades:
- Pole mount: A 1.5-inch galvanized steel pipe sunk into a concrete footing is the most secure option. U-bolts hold the sensor array to the pole. This survives Category 1–2 winds easily.
- Roof tripod: Davis and third-party tripods bolt to the roof peak and hold the sensor array at a useful height. Make sure to properly flash and seal the bolt holes — roof leaks are worse than bad wind data.
- Fence/post mount: Quick and easy but puts the sensor low. Acceptable for temperature and rain, but wind readings will be sheltered.
Gulf Coast tip: Use stainless steel hardware. Standard zinc-plated bolts and screws will rust in a single season in south Louisiana humidity. Marine-grade stainless costs a few dollars more and lasts years longer. Once your station is live, learn to interpret the readings in our Weather Station Data for Beginners primer.
Step 3: Power Up and Pair
The outdoor sensor array typically runs on solar power with a battery backup (AA lithium or CR123A depending on the model). Insert the backup battery before mounting — doing it after means climbing back up. Let the solar panel charge for at least 4 hours in sunlight before relying on the readings.
The indoor console or gateway needs a power outlet. Place it within wireless range of the outdoor sensor (usually 300–330 feet line-of-sight, which drops to 100–200 feet through walls). If the console shows dashes or question marks, the sensor is too far away or has an obstruction. Try repositioning before assuming a defect.
Step 4: Connect to Wi-Fi
Most modern stations (Ambient Weather, Ecowitt, AcuRite with Access hub) connect to your home Wi-Fi to upload data to the cloud. The process is generally:
- Download the manufacturer's app (Ambient Weather, Ecowitt, AcuRite, La Crosse View)
- Create an account
- Put the console into pairing mode (usually holding a button for 5 seconds)
- Enter your Wi-Fi password in the app
- Wait 1–3 minutes for the first data upload
Common issues: Most weather station consoles only support 2.4 GHz Wi-Fi, not 5 GHz. If your router combines both bands under one SSID, you may need to temporarily split them during setup. If your router is far from the console, a Wi-Fi extender may be needed. For tips on optimizing your home network for smart devices, see our guides at DeskSetupPro.
Step 5: Calibrate Your Readings
Out-of-the-box accuracy varies. To calibrate:
- Temperature: Compare against a known-accurate thermometer placed next to the sensor for 30 minutes in shade. Most consoles allow a temperature offset of ±3°F.
- Humidity: The salt test works — seal the sensor in a zip-lock bag with a small cup of salt saturated with water. After 12 hours, it should read 75% RH. Adjust the offset accordingly.
- Rain: Pour a measured 100ml of water slowly into the rain gauge funnel. Calculate the expected reading based on the funnel area. A tipping bucket should report close to the expected value — if it is off by more than 10%, check for debris or leveling issues.
- Barometer: Compare against your local airport METAR (available on Aviation Weather). Set your station's barometric pressure to match the altimeter setting, adjusted for your elevation.
Step 6: Join a Weather Network
Your data becomes more valuable when shared. The major networks:
- Weather Underground (WU): The largest personal weather station network. Create a free account, register your station, and enter your WU station ID and key into your console's settings. Your data appears on the WU map and feeds into forecasting models.
- PWSweather.com: Another popular network with a clean interface. Supports most Wi-Fi-enabled stations.
- CWOP (Citizen Weather Observer Program): Feeds directly into NOAA and the National Weather Service. More technical to set up but the most impactful for official forecasting.
- CoCoRaHS: Focused on daily precipitation reports. Requires a manual rain gauge reading each morning at 7 AM. The data directly supports the NWS and drought monitoring. Highly recommended for Gulf Coast residents.
Step 7: Maintain Your Station
A weather station is not set-and-forget, especially in Louisiana:
- Monthly: Clean the rain gauge funnel and check for spider webs in the radiation shield. Inspect mechanical anemometer bearings for smooth rotation.
- Quarterly: Check battery voltage on the outdoor sensor. Wipe the solar panel. Verify readings against a reference source.
- Annually: Replace the backup battery. Inspect mounting hardware for corrosion. Check the radiation shield for UV damage (yellowing or cracking).
- After storms: Check all sensors for damage, debris, or displacement. Re-level the rain gauge if needed.
Recommended Products for Getting Started
- Ambient Weather WS-2902 — Our top pick for first-time weather station owners ($170–$200)
- Ambient Weather WS-5000 — Best overall for enthusiasts ($330–$380)
- Davis Vantage Vue — Best accuracy and durability ($350–$400)
- La Crosse C83100 — Budget-friendly starter station ($90–$120)
★ Recommended Reading & Gear
- Weather Station Handbook — Definitive reference for siting, calibrating, and maintaining personal weather instruments
- Eric Sloane's Weather Book — Timeless illustrated guide to reading skies and understanding atmospheric patterns
- 1.5-Inch Galvanized Steel Mounting Pole — Heavy-duty pole mount for weather station sensor arrays ($30–$50)
Bottom Line
Setting up a weather station properly takes about 2–3 hours, including mounting. The most common mistake is poor placement — take the time to find the best spot rather than the most convenient one. Use stainless hardware, calibrate after installation, join Weather Underground or CoCoRaHS, and plan for monthly maintenance. Your future self will thank you during the next hurricane approach when you have hyper-local data instead of an airport reading from 20 miles away.
Frequently Asked Questions
How long does it take to set up a weather station?
A complete installation takes about 2-3 hours including mounting, pairing, Wi-Fi setup, and calibration. The most time-consuming part is finding and preparing the optimal mounting location.
Where is the best place to put a weather station?
Temperature sensors should be 4-6 feet above grass in shade with good airflow. Wind sensors work best as high as possible, away from obstructions. Rain gauges need open sky at 3-5 feet height. Use stainless steel hardware in humid climates.
Do I need to calibrate my weather station?
Yes. Compare temperature against a known-accurate thermometer, use the salt test for humidity calibration, and verify barometric pressure against your local airport METAR. Most consoles allow offset adjustments of plus or minus 3 degrees F.
How do I get my weather station data online?
Most modern stations connect via Wi-Fi and upload to manufacturer clouds automatically. Register with Weather Underground for the largest network. CoCoRaHS provides daily precipitation data directly to NOAA and the National Weather Service.
What tools do I need to install a weather station?
Basic installation requires a drill, adjustable wrench, bubble level, and a compass for orientation. For roof mounting, add a mounting tripod or galvanized steel pole, stainless steel hardware, and roofing sealant for bolt holes. A Wi-Fi range extender may also be needed if the console is far from your router.
Explore More on AI Leapers
- Best Kids Outdoor Toys 2026 on KidGearPro
- Best Air Purifiers for Home Office on DeskSetupPro
- Best Cooling Sheets for Summer on RestWell